16 Dec
Clean data drives smarter decisions, better reporting, and smoother workflows. Yet most businesses struggle with messy spreadsheets that slow down processes and create costly errors. Studies show that 47% of newly created records contain at least one critical mistake. That alone proves why data cleansing isn’t optional.
Another industry report found that poor data quality drains 15–25% of a company’s revenue. Those losses occur through misinformed decisions, duplicated work, and failed automation efforts. Fortunately, fixing these issues often starts with something as simple as Excel.
Even with dozens of data tools available, Excel remains the fastest, most reliable, and most accessible platform for cleansing and organizing data. Whether you’re a beginner or an analyst, Excel can transform cluttered datasets into actionable insights in minutes.
In this guide, you’ll learn exactly how to cleanse data in Excel like a pro—step by step. You’ll see formulas, tools, techniques, and automation strategies used by top companies and analysts worldwide.
What Is Data Cleansing? (And Why Excel Is Still the Best Tool)
Data cleansing refers to the process of identifying and eliminating errors, inconsistencies, and inaccuracies within a dataset. These issues appear due to human entry mistakes, formatting problems, missing values, or poorly structured imports.
Common data quality problems include:
- Duplicate entries
- Inconsistent naming conventions
- Mixed formatting types
- Missing fields or blank cells
- Incorrect date formats
- Non-printable characters
- Hidden spaces
- Merged cells or structural issues
Clean data improves:
- Reporting accuracy
- Team efficiency
- Automation success
- Customer experience
- Decision-making quality
Despite the rise of advanced platforms, Excel remains the top choice for data cleansing. Its functions, formulas, and built-in tools make cleanup fast and flexible. More importantly, nearly every team already uses Excel.
Preparing Your Excel File for Efficient Data Cleansing
Before jumping into cleanup tasks, take a few simple steps to prepare the dataset. This helps prevent mistakes and protects the original data.

1. Create a backup of your file
Always preserve the raw file. Use:
- Save As for safety
- Or use Excel’s Version History
A clean backup ensures you can revert any errors within minutes.
2. Convert data into a structured table
Press Ctrl + T to convert the dataset into an Excel table. This gives you:
- Built-in filtering
- Faster formatting
- Consistent formulas
- Easier navigation
Tables also help Excel interpret your data correctly.
3. Check for consistent data types
Data types commonly get mixed when importing CSV or PDF extracts. Ensure:
- Dates are real date values
- Numbers are not stored as text
- Text fields aren’t formatted as numbers
Mixed data types cause formula errors and inaccurate reports.
4. Remove blank rows and columns
Empty rows can interfere with sorting, filtering, and pivot tables. Quickly remove them by:
- Applying a filter
- Selecting Blanks
- Deleting unnecessary rows
5. Understand that data cleanup takes serious time
According to multiple studies, data scientists spend 60–80% of their time cleaning and preparing data. This reality highlights the importance of doing the job correctly.
8 Proven Steps to Cleanse Data in Excel Like a Pro
Cleaning data in Excel doesn’t have to be slow or overwhelming. With the right techniques, you can transform messy, inconsistent spreadsheets into accurate, analysis-ready datasets in minutes. These eight proven steps will help you eliminate errors, standardize formatting, automate cleanup, and ensure your data remains reliable for every report and decision.
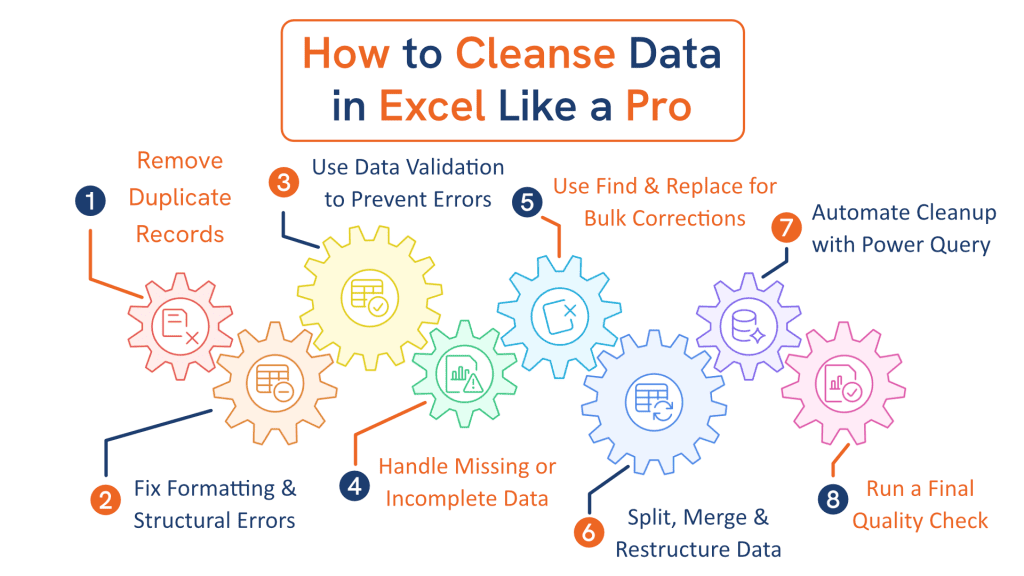
Step 1: Remove Duplicate Records in Excel
Duplicate entries are one of the most common data quality issues. They distort totals, skew calculations, and create false insights.
Excel provides multiple ways to eliminate duplicates.
Method 1: Remove Duplicates tool
Go to:
Data → Remove Duplicates
Then:
- Select the appropriate columns.
- Confirm the selection.
- Remove duplicate rows instantly.
Use this when you trust the dataset and want fast cleanup.
Method 2: Highlight duplicates visually
For a safer preview approach:
- Select the dataset.
- Go to Home → Conditional Formatting → Highlight Cell Rules → Duplicate Values.
This method highlights duplicates without deleting them.
Method 3: Filter unique values
Use:
Data → Advanced Filter → Unique records only
This keeps one copy of each value while filtering others out.
Step 2: Fix Common Formatting and Structural Errors
Formatting issues are subtle but destructive. They affect formulas, sorting, and data modeling. Luckily, Excel has strong tools to fix them.
- Remove extra spaces
Extra spaces break matching and lookup formulas. The TRIM() function removes them instantly.
Example:
=TRIM(A2)
- Standardize text case
Inconsistent text case creates multiple versions of similar values.
Use:
- =LOWER() for lowercase
- =UPPER() for uppercase
- =PROPER() for sentence case
- Remove non-printable characters
Imported files often include invisible characters that break formulas.
Use:
=CLEAN(A2)
- Convert text numbers into real numbers
Text numbers cause calculation errors.
Use:
- Text to Columns
- Multiply by 1 (=A2*1)
- Add 0 (=A2+0)
- Standardize date formats
Dates often appear as:
- DD/MM/YYYY
- MM-DD-YY
- Text-based dates
Convert them using:
Home → Number Format → Date
- Use Text to Columns for restructuring
Great for splitting values like:
- Full name → First + Last
- Address → Street + City
- Codes → Category + ID
Go to:
Data → Text to Columns
Choose:
- Delimited
- Or fixed width
This makes unstructured text usable.
Step 3: Use Excel’s Data Validation Tools to Prevent Future Errors
Data validation ensures your data stays clean over time. It restricts invalid entries and reduces future cleanup workloads.
Benefits include:
- More accurate entries
- Standardized values
- Fewer formatting issues
- Greater team compliance
Data validation can reduce data entry errors by 30% or more, according to several workflow studies.
Examples of data validation rules:
- Restrict numbers
Set min or max values.
- Create dropdown lists
Dropdowns prevent spelling errors or inconsistent labels.
Use:
Data → Data Validation → List
- Validate date ranges
Ensure dates fall within acceptable boundaries.
- Highlight invalid data
Validation alerts users immediately when errors occur.
Step 4: Handle Missing or Incomplete Data Like a Pro
Missing data is unavoidable but manageable. First, identify the gaps. Then decide how to handle them based on context.
How to find missing data:
- Use filters
- Use COUNTBLANK()
- Apply conditional formatting
Strategies for handling missing data:
- Replace missing values
Use default values such as:
- “N/A”
- 0
- “Unknown”
This keeps datasets consistent.
- Use statistical replacements
Use:
- =AVERAGE()
- =MEDIAN()
This approach works well for numeric datasets.
- Delete incomplete rows
Only delete rows when the missing data makes them unusable.
- Leave the data blank
Sometimes blanks are intentional and meaningful.
Choose the right approach based on your data’s purpose.
Step 5: Use Find & Replace for Bulk Corrections
Excel’s Find & Replace tool fixes recurring errors across large datasets within seconds. It’s perfect for cleanup tasks involving repeated patterns.
Common cleanup tasks using Find & Replace:
- Correcting misspellings
- Standardizing abbreviations
- Converting inconsistent naming
- Removing symbols or characters
- Updating outdated codes
Using wildcards for advanced cleanup:
- * — matches multiple characters
- ? — matches a single character
Example:
Find: *Inc
Replace: Inc.
This updates company names consistently.
Step 6: Split, Merge, or Restructure Data Using Advanced Functions
When data arrives from CRM systems or imports, values often get combined into a single column. Excel’s functions can restructure them with precision.
Useful functions include:
- TEXTSPLIT()
Available in Excel 365.
Splits text based on delimiters.
- LEFT(), RIGHT(), MID()
Extracts specific parts of text.
Examples:
- LEFT(A2, 5)
- RIGHT(A2, 4)
- MID(A2, 3, 2)
- CONCAT() or TEXTJOIN()
Joins multiple values into a single cell.
- Flash Fill
Excel can recognize patterns and fill data automatically.
Use Ctrl + E after typing a sample pattern.
Step 7: Automate Data Cleansing Using Excel’s Power Query
Power Query is a game changer for cleansing large datasets. It automates transformation tasks that normally take hours. You can clean data once and refresh it forever.
Many organizations reduce manual cleanup by up to 70% after adopting Power Query workflows.
Common Power Query transformations:
- Remove duplicates
- Split columns
- Unpivot data
- Replace values
- Remove errors
- Change data types
- Standardize text formats
Why Power Query is essential:
- It creates repeatable cleanup steps
- It handles huge datasets efficiently
- It eliminates human error
- It integrates with databases and online sources
Excel professionals consider Power Query a must-have for scalable data management.
Step 8: Run a Final Quality Check on Your Dataset
Before exporting or analyzing data, run a final quality assessment. This ensures your dataset is consistent, accurate, and ready for decision making.
Quality check tools include:
- Summary functions
Use:
- COUNT()
- COUNTA()
- COUNTBLANK()
- UNIQUE()
These help confirm structure and completeness.
- Conditional formatting
Use visual checks for:
- Outliers
- Duplicates
- Unexpected values
- Formatting errors
- Data profiling in Power Query
This feature shows:
- Error counts
- Value distribution
- Column quality
- Valid vs invalid values
This final review ensures nothing critical gets overlooked.
Top 5 Pro-Level Tips to Maintain Clean Data in Excel
Once your data is clean, the next goal is to keep it clean. These professional tips reduce repeated cleanup work.
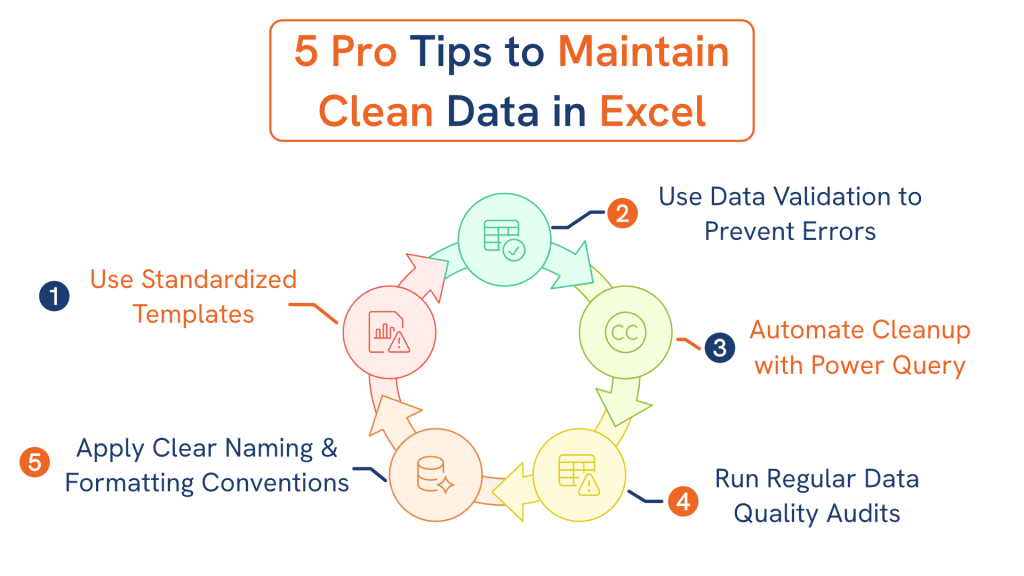
1. Use Standardized Templates for Consistent Data Entry
Standardized templates eliminate variations that lead to data inconsistencies.
Your template should include:
- Predefined column headers
- Fixed data formats
- Validations for restricted fields
- Locked formulas that shouldn’t be edited
- Dropdowns for standardized values
When every team member uses the same template, data becomes uniform from the start.
2. Implement Strict Naming and Formatting Conventions
Consistent naming prevents duplication and misclassification. Establish rules for:
- Product or category names
- Date formats (e.g., YYYY-MM-DD)
- Country/state abbreviations
- Capitalization guidelines
- Number formatting (currency, percentages, IDs)
Document these conventions and ensure your team follows them consistently.
3. Use Data Validation to Control Inputs and Prevent Errors
Data validation reduces mistakes before they happen. Set up:
- Dropdown lists for fixed categories
- Range limits for numbers
- Required formats for dates
- Error alerts blocking invalid entries
Good validation transforms Excel into a guided data-entry interface.
4. Leverage Power Query for Repeatable, Automated Data Cleansing
Power Query is essential for large datasets or recurring workflows. It automates:
- Removing duplicates
- Splitting and merging columns
- Changing data types
- Standardizing text
- Replacing values and removing errors
Once a transformation is set, you simply click Refresh to clean new incoming data.
5. Perform Regular Data Quality Audits to Catch Issues Early
Even well-maintained datasets degrade over time. Schedule monthly or quarterly audits to check:
- Duplicate counts
- Missing values
- Wrong data types
- Outliers or anomalies
- Broken formulas
- Inconsistent labels
Audits keep small issues from turning into costly data failures.
Top 5 Most Critical Data Cleansing Mistakes to Avoid
Many data issues occur because teams unknowingly make critical mistakes. Avoid these to ensure long-term data health.
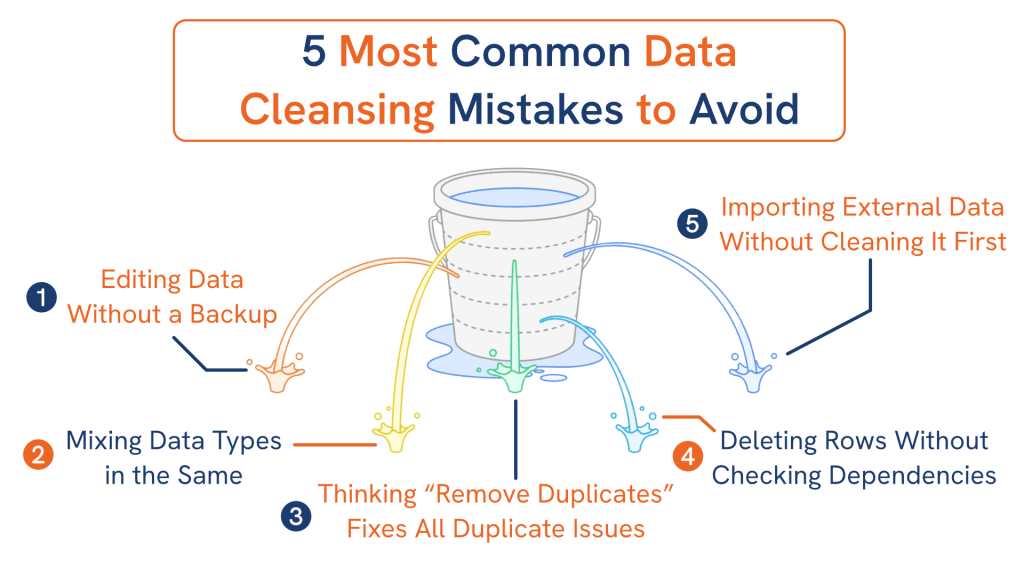
1. Editing Raw Data Without Creating a Backup File
Never work on the original dataset. A single wrong sort, paste, or delete can corrupt your file permanently.
Always:
- Save a duplicate file
- Store versioned copies
- Use Excel’s Version History
Backups protect you from unrecoverable mistakes.
2. Mixing Data Types Within the Same Column
Combining formats ruins formulas, filtering, and pivot tables. Common examples:
- Dates stored as text
- Numbers mixed with text characters
- ID codes converted to scientific notation
- Currency pasted without formatting
Each column should contain only one data type.
3. Assuming “Remove Duplicates” Catches All Duplicate Records
Excel only catches exact duplicates. Slight variations go undetected, including:
- Extra spaces
- Different capitalization
- Misspellings
- Hidden characters
Use TRIM, CLEAN, and helper columns to prepare data before removing duplicates.
4. Deleting Rows Without Understanding Dependencies or Hidden Data
Hasty deletions can break:
- Formulas
- References
- Pivot tables
- Dashboards
- Data mappings
Always inspect hidden rows, filters, and dependent formulas before deleting anything.
5. Importing External Data Without Checking for Hidden Formatting Issues
External data often contains hidden problems like:
- Merged cells
- Non-printable characters
- Trailing spaces
- Inconsistent delimiters
- Hidden rows or columns
Always review imported data using:
- TRIM & CLEAN
- Text to Columns
- Data type checks
- Conditional formatting
Cleaning imported data early prevents major issues later.
Conclusion
Clean data fuels everything from accurate reporting to better customer insights. Excel remains the most powerful and accessible tool for cleansing messy data—especially when you use structured techniques, smart formulas, and automation tools like Power Query.
By following this guide, you can:
- Remove duplicates with confidence
- Fix formatting issues quickly
- Standardize text and numbers
- Handle missing or inaccurate information
- Automate processes for long-term efficiency
- Maintain clean, usable data year-round
Clean data isn’t just an operational task, it’s a competitive advantage. The sooner you implement these steps, the faster your team will gain clarity, productivity, and decision-making power.